Thursday, September 8, 2016

Broken Legions - Fury of the Gods

My friend Frank and I sat down yesterday to play our first game of Broken Legions since the rules were release. As some of you may know I was one of the playtesters and Frank had helped a lot with the testing of the rules.

Quite a few things have changed from the playtesting document to the final rules. The rules are now sharper, more easy to follow and some of the rules that really made the game flow badly has been removed. So coming into the game I had high hopes and I was not disappointed.

This ruleset now gives me the type of narrative game that I was hoping for when I first heard of the game back in 2015. It is easy to get the hang of, provides plenty of options for each warband, and the game flow is excellent. Frank and I completed a normal game in about 2 hours, which is an ideal time span for me.

My gaming table is 4x4, and I still think that the game might be better on that size than the recommended 3x3.

Scenario
For the scenario I had reworked "The Stars are Wrong" scenario from the Frostgrave Sellsword PDF and renamed it Fury of the Gods. The scenario takes place in highly divine magical area, where the gods are very active. This meant that 6 pillars would be placed one inch from the table edges. One on each board edge that the warbands start and two on each of the other board edges. A seventh pillar was placed in the center of the board. If either of the players roll a 1 or 2 on their Initiative roll then a bolt of eldritch energy immediately fires between the center pillar and a randomly determined pillar. Any figure within 1" of that line is struck by a magical attack (Accuracy 4, Damage +3).

We rolled for objectives and got 6, which we then took turns to place on the board.


Warbands
During playtesting Frank had played The Soldiers of the Eagle and he was therefore keen to see how they played in the final rules.

Soldiers of the Eagle
Primus Pilus
+ Shield
+ Blessing of Mars
+ 2 Warhounds
Praetorian
Praetorian
+ Bodyguard (Primus Pilus)
Legionary
Legionary
Numerus
Sagittarius

The Dacians were a late arrival in the playtest, so I wanted to try them out.

Dacians
Chieftain
+ Shield
Strigoi
+ Miracle (Skinchanger)
Noble
+ Shield
Warrior
Warrior
+ Standard
Falxman
Falxman
Ghoul

One difference from the playtest was the number of points that you start of with, going from 200 to 150. This has a huge influence on the number of models each warband has and also makes you think more about which models to take. With 200 points all Heroes were easily included in the warband and you would still have enough points to add pretty much what you wanted. A good change indeed.

The Game

Northern Macedonia, early 2nd centruy

Both Roman and Dacian spies have found out that a temple ruin in Northern Macedonia might house more than just ruins. Rumours of lost treasure and possible artefacts that could help a warband in the secret war. Warbands from both the Romans and the Dacians are sent out to find out whether the rumours hold any truth.

The first round started out with me rolling a one for Initiative, but since all our models where in their deployment zones none were hit by the eldritch energy bolt.
The first round was pretty much just moving our models towards the objectives. Despite standing in the open I felt my models were more or less safe from the Roman archers - I would be proved very wrong.


Second round saw no eldrith energy, but the Primus Pilus used his Bring Him Down! command to improve the archers shooting. A Dacian Falxman, who then moved into cover was brought down by some good dice rolling, and within a few activations the Dacian Standard Bearer was also dead. The Dacian Noble moved onto the left flank in the hopes of getting out of the way of the Primus Pilus and a Praetorian, but would encounter two Warhounds, who then wounded him.
On the right flank, the other Falxman, the Ghoul and the Strigoi moved up intending on taking out the Roman shieldwall and thereby getting in behind the Roman Numerus and Sagittarius.


Third round and again no eldrith energy. Having lost more or less his center the Dacian Chieftain decided to take matters into his own hand and challenged the Primus Pilus to a Clash of Champions. The Dacian Noble was kept busy with both of the Warhounds and on the right flank things were beginning to heat up with the Ghoul darting past the Roman shieldwall in an attempt to close in on the Numerus. The last Warrior moved into what was supposed to be a safe position, but ended up being shot by the Sagittarius. The Falxman put himself into a position so that he would be able to charge in the next round, while the Strigoi used Miracle (Transfix) on the Praetorian. The two Legionaries of the shieldwall broke out though and Charged the Falxman. The Falxman fell to the Legionaries' gladius, and while the Dacian Noble took out a Warhound, a Praetorian joined the battle of the leaders. Things were not looking good for the Dacians, who desperately needed the Strigoi to make a difference.


Fourth round and no eldrith energy - what should have provided a twist was just not happening. Finally the Dacians won the initiative and with the Chieftain locked in melee the Ghoul activated and charged the Numerus. Also on the right flank the Roman remade their shieldwall and waiting for the Strigoi, who after having successfully cast Miracle (Shapechanger) charged the shieldwall. In the melee the Praetorian was hit by the Strigoi, became Broken and broke the shieldwall. The Dacian Noble killed the last Warhound, but the Ghoul was hit, became broken andmoved out of melee and the Dacian Chieftain was also wounded, but remained in the fight.


Fifth round and no eldrith energy. This proved to be the last round of the game as the Dacians crumbled under the Roman might. First the Sagittarius made good use of shooting down the Noble, not killing him, but wounding him again. The Ghoul, still Broken, was shot by the Numerous and the game was lost when the Praetorian moved in line with the Legionaries and remade the shieldwall. The Strigoi failed to cast Miracle (Skinchanger) and was hit by all members of the shieldwall and even became the recipient of a Critical Hit. The Strigoi attempted the Fate test to see whether he would stand but failed. The Chieftain was again hit, but still stood his ground.
Having lost 75% of the starting warband, it was time for both the Noble and the Chieftain to make Presence tests - and both failed, thus fleeing the table.


This was a complete annihilation of the Dacian warband, The archers proved to be the game changers with some crazy dice rolling from Frank. We decided to try out the Campaign system in the back of the book, results being that I lost my Warrior while the rest were okay. Frank lost one of his two Wardogs. We made some changes to the point system, meaning that the warband that lost also got points for killing Henchmen, and a basic bonus of 10 XP for winning, 7 XP for a draw and 5 XP for losing. The Soldiers of the Eagle will have 21 XP to spent before our next game and the Dacians 7 XP. This provides a bonus for winning without leaving the loser without any chance of getting replacements in for killed models.

Conclusion
This was a lot of fun! I had looked forward to trying out the final rules and they did not disappoint. The rules are more smooth and both players are involved all the time. With the campaign rules changes that we made, I can see a nice narrative campaign unfolding.

Some have reviewed the game as being filled with lots of special rules and this bogs the game down. I must admit that I wholeheartedly disagree. Each warband will have some special rules but these are simple and are part of what makes your warband special and not just like all the others. With the Auxilia, which we did not use, each Soldiers of the Eagle or Dacian warband can be very different.

So Broken Legions come highly recommended if you're looking for a campaign game set in the ancient world and filled with ancient mythology.

Tuesday, August 23, 2016

For Sale: Imperial Roman Veterans

UPDATE - SOLD!

I'm selling my Warlord Games Imperial Roman Veterans, as I have no use for them and right now they are only collecting dust.

These will fit into any Hail Caesar army or any other wargamer including the upcoming Broken Legions.

The minis are painted to a very good quality standard and based on washers. There are 17 legionaires, a centurion, a standard bearer and the last is a conversion into a frumentarii.

I'm looking to get £25 + postage which will be £5 for the EU (which still includes the UK for the time being)

Let me know if you're interested, and please share this post with others that might have an interest.


Saturday, August 13, 2016

Sharp Practice 2 solo test game

During the week I came across three videos on YouTube, where a guy is trying out the Sharp Practice 2 rules for his Indian Mutiny collection. He does not have an opponent, but is controlling both sides so that he can try out different aspects of the rules. He makes some mistakes regarding the rules which I believe is a huge factor in his not to enthusiastic view of the rules.

His solo gaming made me want to try out the basic mechanics of the game myself - one thing is to read a set of rules another is to get minis on the table and try them out.

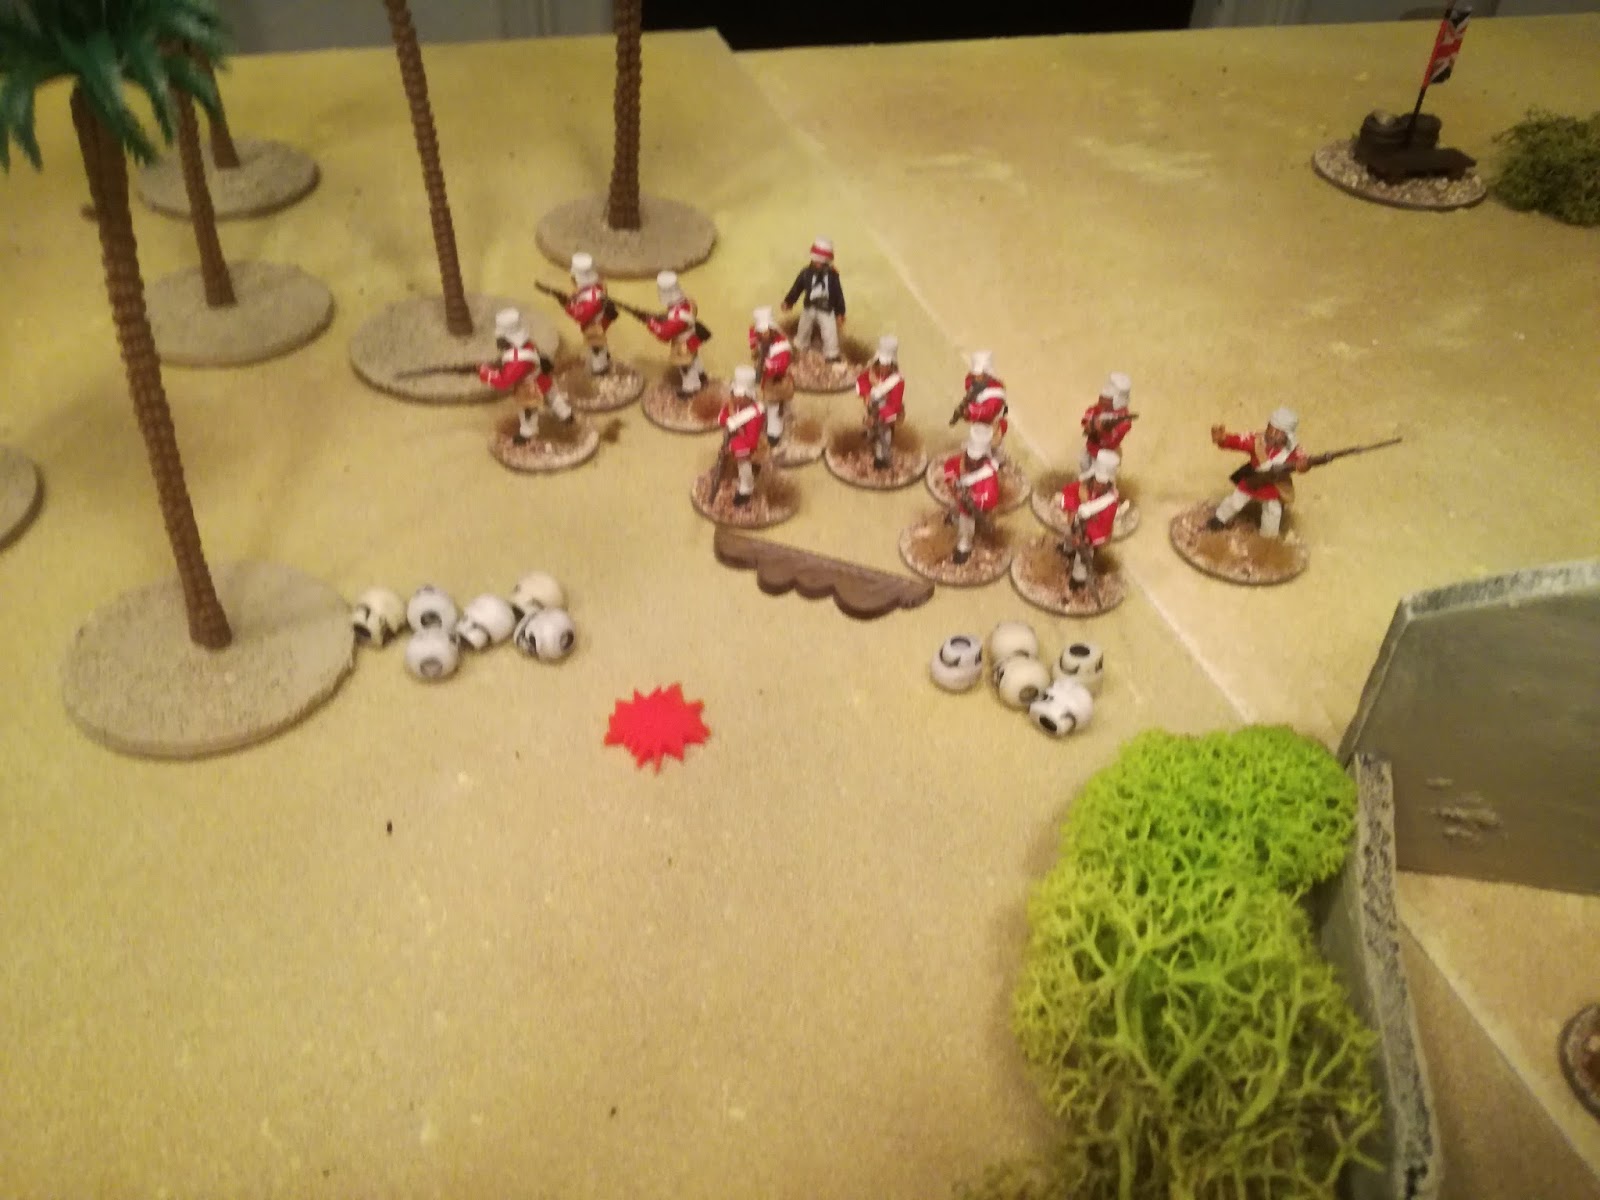
So Friday evening I set up a 4x4 table and mustered two forces for equal points. I deliberately left out artillery, characters and any support options so that I could keep things simple. The scenario was the first in the rulebook "An Encounter" where the objective is to break the opponents Force Morale.


Despite not having tried the rules yet, upon reading them I felt that the Rebel Forces were too weak and that the Well-ordered Sepoys and Badmashes with Big Choppers could do with some adjustments. The Weedy Coves characteristic in particular seemed a harsh judgement of sepoy melee capabilities, so I removed that and gave the Badmashes with Big Choppers Aggressive. I also changed the Well-ordered Sepoys so that they could always be in formation and fire Controlled Volleys - this makes them stand out a bit more compared to the Sepoy Rabble. Of course the points cost also changed.

These are the forces I selected for the test game - 45 points each:

British:
Major Malcolm (Status 2)
Sgt. Johnson (Status 1)
- British Regulars with Muskets

Lt. Nicholls (Status 2)
- Gurkhas

Sgt. Kilbane (Status 1)
- Native Skirmishers

Rebels:
Abhay Akbar (Status 3)
Gautam Ashok (Status 1)
- Sepoy Rabble
- Sepoy Rabble
- Sepoy Rabble

Nitin Prakash (Status 2)
- Well-ordered Sepoys

Rakesh Mani (Status 1)
- Badmashes with Big Choppers

This meant 4 Leader chips and 4 Command chips for each force and the Tiffin chip weant into the bag.

In the first round it was all about get the troops deployed. The Rebels were quickly deployed, with only Rakesh Mani still of the table. They even managed to gather 4 Command chips, so Nitin Prakash activated again and ordered his Well-ordered Sepoys further forward. For the British on Major Malcolm had managed to deploy.

Round two got more movement out of the Well-ordered Sepoys who took a position near the ruined building in the centre of the table. The remaining Leaders on both sides deployed, with Rakesh Mani's Badmashes near the board edge so that they could try and make use of the rocky outcrops on their left flank. The Gurkhas deployed behind the British regulars and the Native Skirmishers took up a position close the runed building in good cover.

Round three saw the Major Malcolm order his British regulars move forward and into a position just right of the ruined building - a risky move as the Well-ordered Sepoys of Nitin Prakash had not yet acted. The decision proved a bad one as Nitin Prakash then activated and moved his formation to the left so that they would come into a good position to launch an uncontrolled volley. Prakash troops fired and got two kills and added a further couple of shock points to the British.

In subsequent rounds more troops moved into good positions and managed to get shots off. In a lot of rounds 4 command chips were gathered for one side and gave another activation for a Leader - this proved very valuable in most situation. Three times I drew 3 command chips in a row, which meant that a random event occurred. Here the Rebels suffered worst as Gautum Ashok, who had taken one of the Sepoy Rabble groups on his own, ended up being gunned down by his own men thus lowering his Leader Status to 0. Abhay Akbar was too enthusiastic and had moved in front of his men, who then subsequently ran him down - in gaming terms this meant that Akbar would not activate in the next round. Lt. Nicholls' Gurkhas ended up having wet powder, so they would only fire with half the normal dice when shooting - at this point the Sepoy Rabble had shot them to pieces and they were constantly withdrawing with so much shock on that they would not be doing any more shooting.

I ended the game when it was still in the balance - I think I played 12-13 rounds. Major Malcolm's British regulars lost more men and were loaded with shock, but after many rounds rallying they came back and took their revenge on Prakash's sepoys. Sgt. Johnson who was attached to the British regulars proved invaluable as each round he could rally of a single point of shock on top of Major Malcolm.

The Native Skirmishers of Sgt. Kilbane started the game using their rifles to good effect, but ended up being forced to withdraw when a group of Sepoy Rabble entered into fisticuffs with them.

So what did I think of the rules? Well I think they give an excellent game - and most of the rules I could not remember I found. Only three times have I been unsure of what the rules said, but I have found the answer later on.

Shock is an excellent mechanic and it really is a game about getting your opponent so loaded with shock that he does not want to fight. The command chips give a bit of control back to the player and they work. The risk of using uncontrolled volley compared to controlled volleys is also good, and the Rebel Leaders had huge problems getting their troops to stop shooting.

As a solo game I quite enjoyed myself and I might just have another go at it. My friend Chris who is not to keen on unit games and historical games has promised to give it a go and I am glad that I have tried the rules myself.

So I would highly recommend the rules for anyone who is looking for a large skirmish game where there are a lot of tactical choices to be made.

Took a lot of pictures:


Sunday, August 7, 2016

Indian Mutiny - both forces finished

I have reached the end... the last mini for my Sharp Practice Indian Mutiny project has been painted, based and varnished!

This is the largest collection for a single game that I have painted in the space of little over two months. In total there are 86 Rebels and 56 British/Company minis, which means that there are far more British/Company minis points wise compared to the Rebels. They are all from either Iron Duke Miniatures or Mutineer Miniatures and have all been a pleasure to paint.

The last four minis were finished last night and this afternoon I decided to get them all lined up and take some pictures, so here we go.

Rebels

All Rebel units

 Two units of Well-Ordered Sepoys and Leader

Three units of Sepoy Rabble, two Leaders and musician

One unit of Badmashes with Big Choppers and Leader

One unit of Badmashes with Big Choppers and Leader

One unit of Sepoy Artillery and Leader

Two units of Sepoy Skirmishers and Leader


British/Company

All British/HEIC units

 Three units of Regular Army, Leader and musician

One unit of Gurkhas and Leader

One unit of Loyal Native Infantry and Leader

One unit of Civilian Volunteers and Leader
One unit of British Artillery and Leader

Next on the agenda is some terrain making, not quite sure what yet, but maybe a river and some houses.