Horrific Crime
"Reports have come in that some sort of massacre has taken place in a neighbourhood/village. The factions have decided to find out what has happened, looking for survivors to rescue/capture or loot."
Basically 10 corpse markers are placed around the board. Once a character moves into contact with the marker then can spend their action to search the body. At this point the player roll a die to see what he has found; survivor, dead body (with loot) or a zombie.
Each faction gains shillings by rescuing survivor, defeating zombies or the loot. The usual shillings for men left standing and kills still apply, but there is no actual winner/loser in the scenario. The scenario is limited to 8 turns.
This scenario is based of a Frostgrave scenario that I saw in some PDF supplement.
Infernium Intervention
"The factions learn that a criminal gang is holding a large quantity of Infernium in a carriage/coach ready to be smuggled to another location. The factions will need to move fast if they are to stop the gang and take the Infernium for themselves."
In the center of the board are placed a coach/carriage, 5 thugs and a guv'nor. If any of them are attacked or shot at the guv'nor will order the coach/carriage to move out. The factions will then have to get to the coach/carriage before it leaves the nearest board edge. If a faction member gets into base contact with the coach/carriage and there are no members of the criminal gang in base contact with it, they take control of the coach/carriage. They now have to get the coach/carriage back to their own deployment zone, to win the game.
The games
Horrific Crime
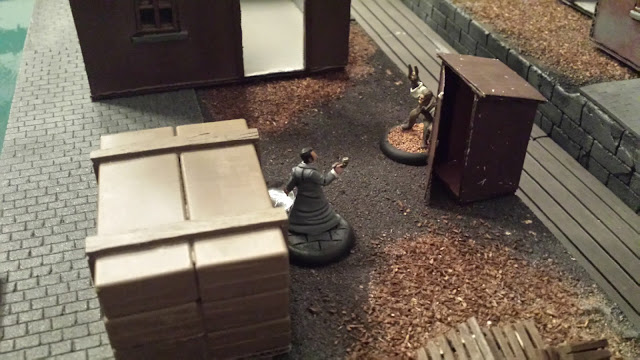
We played the Horrific Crime scenario first and once again the swiftness of Lycaons was a great advantage and he slowness of Watson and Mycroft a major hindrance. Chris once again fielded Red among his Lycaons and her Move 7 is devastating.
The corpse markers proved to be great objectives as we were both focused on getting to them rather than combating each other. As we both moved into the center of the board conflict was inevitable - Red and the Beastlord once again proved too tough in combat for my peelers and all three ended up being removed from table. In the end the slow Watson was chasing the fast Beastlord, but unsurprisingly was unable to catch him.
The shooting of Sir Henry Baskerville and Holmes' combat abilities removed Chris' two Wolfkins. Since Chris had one Wolfkins sitting the game over due to injury this meant that a Bravado check was required, and her the Beastlord failed his check, so Red was the only Lycaon member left standing.
In the end we got to all corpse markers but not once did a zombie appear and most of the time it was just a dead body with a few shillings to loot.
After this game we both agreed that the possibility of a zombie appearing should be better as it no doubt would have changed the game. Both of us ended with 19 shillings for our factions.
Infernium Intervention
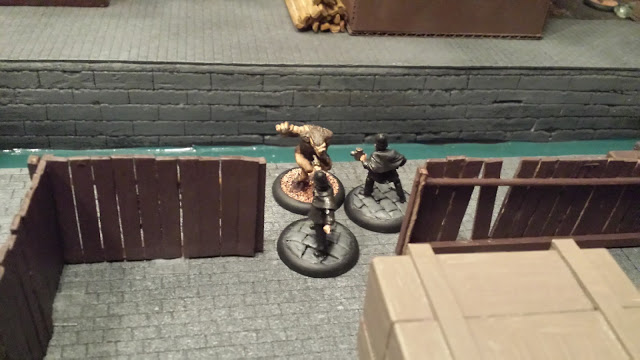
This was the scenario that felt would need the most playtesting, which proved correct. However it ended up being a very enjoyable game. Our deployment zones were large corners and the Lycaons started on a pier. Knowing that I would be a lot slower than my opponent I opted to take a shot at a thug when the opportunity first came about. That way the guv'nor would order the coach to move out. Holmes and Watson would combat the criminals while the rest of my faction would try to intervene the coach.
The first part of the plan worked, but the swift Beastlord boarded the coach and the Lycaons controlled it. Two peelers got into good positions to take shots at the coach, but only one managed to do damage to it. Holmes went into combat with the thugs while Watson and the guv'nor were taking shots at each other. The Wolfkins moved in cover along the piers, trying to get into positions where they could protect the route of the coach. In the following round Chris won the initiative and promptly increased the speed of the coach and decided to take the "Run him down" action trying to run down two of my peelers and Mycroft. Mycroft and one of the peelers managed to dodge the onrushing coach, but the second peeler was run down and removed from play. The peeler who dodged then took a shot at the coach and it another fabrication wound. Sir Henry Baskerville then shot with his hunting rifle but again no damage was done. Chris' Wolfkins had now taken up positions and one of them shot my peeler with a crossbow and he was removed from play.
Meanwhile Holmes was fighting the thugs, but could not make any of them suffer. Watson and the guv'nor shot at each other, but neither could do damage. This scene continued for several rounds.
My planned intervention of the coach was running on it's last leg. My last peeler had gotten closer to the coach, but Red then charged him. Mycroft was then shot by a crossbow and removed from play. Being unhinged I rolled to see how he reacted and rolled a 1 meaning he panicked and was removed from play. Knowing that my last chance would be to inflict the last fabrication wound to the coach, I decided to let Sir Henry take a shot, knowing that Red would charge him. But Sir Henry missed and my last chance was gone. Red then charged and in the following combat had no problem removing Sir Henry from play. Holmes actually managed to remove two thugs from play, but Watson was still unable to kill the guv'nor.
With the game more or less over we decided to call it a day. It was a fun scenario to play, but I need to work more on what the thugs/guv'nor will do and why as we generally just agreed on their actions.


Looks like a great game, and the game looks great.
ReplyDelete